Burst Pipes in Kent: What to Do in the First Hour
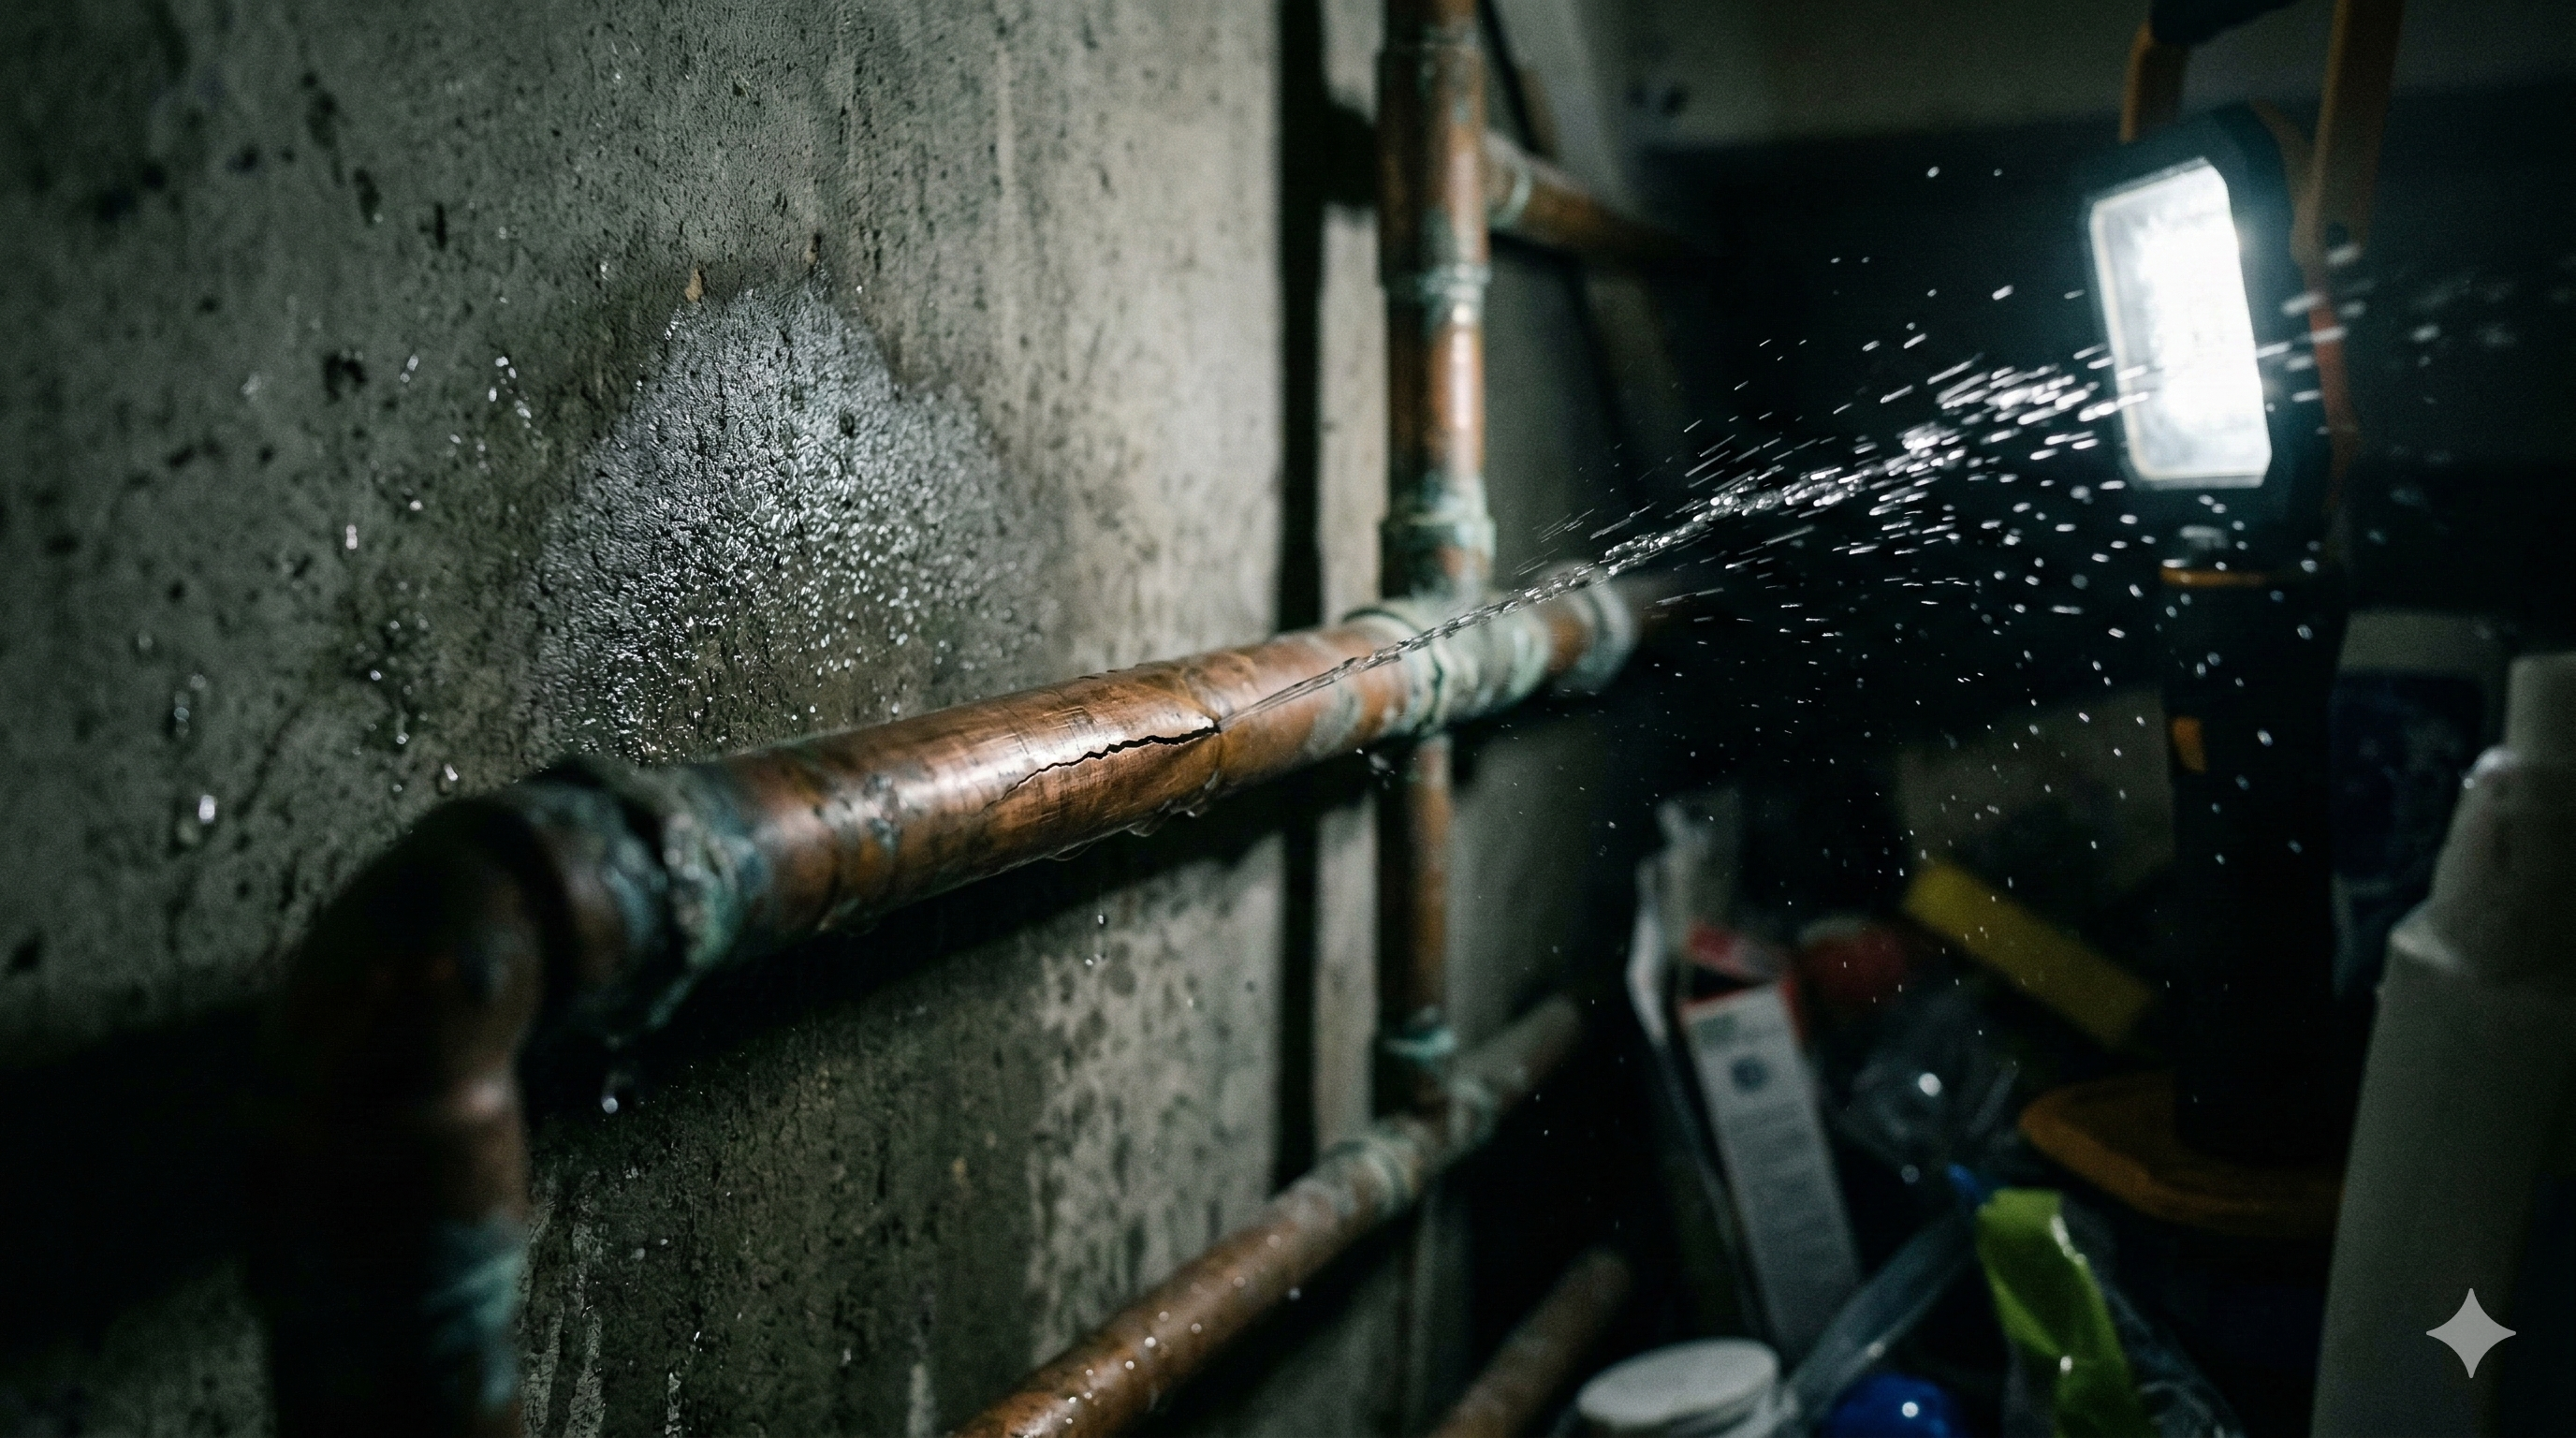
With a burst pipe, the first few minutes matter more than anything else. The priority is to stop the water, make the area safe, and contain the damage before it spreads through floors, ceilings or electrics. This guide focuses on those immediate steps, what a plumber will do once they arrive, and how to handle the drying-out and insurance side afterwards.
Your Immediate Action Plan: What To Do RIGHT NOW
That sudden sound of dripping water or the unexpected cold shower when you were expecting warmth is enough to put anyone on edge. A burst pipe is not just an inconvenience; it can cause significant damage to your home, from ruined carpets to compromised ceilings.
📺 Watch: EMERGENCY BURST WATER PIPE REPAIR #02 — Just A Plumber
There are clear steps you can take right now to limit the damage. This guide covers what to do the moment you discover a burst pipe, how to minimise the chaos, what to expect from a professional plumber, and how to navigate the aftermath, including the insurance side.
The single most critical step when a pipe bursts is to immediately shut off the main water supply to prevent further flooding and damage. This is your absolute first priority.
1. Find and Turn Off Your Main Water Stopcock. Most often, it’s under your kitchen sink, in a utility room, or a downstairs loo. For older properties or rural spots, it might be outside your boundary in a small inspection box. Turn it clockwise firmly until the water flow completely stops.
2. Isolate the Electrics if Necessary. Next, and this matters if the burst pipe is anywhere near electrical fittings (think bathrooms, kitchens, or even a loft where wiring runs), immediately shut off the mains electricity to that area, or even your entire home, at your consumer unit (what we used to call the fuse box). Water and electricity are a dangerous combination, and trying to deal with a leak when there’s a risk of electrocution is simply not worth it. Crucially, do NOT touch any wet electricals or anything that’s been soaked by the leak until the power is off and a qualified electrician has confirmed it’s safe. Always err on the side of caution here.
3. Contain the Water and Open Taps. Once the water and, if necessary, electricity are off, focus on containing the existing water. Grab every bucket, bowl, and towel you can find. Place them under the leak to catch the drips and soak up puddles. If you have a wet vac and it’s safe to use (i.e., no electrical hazards), it can be incredibly effective for larger pools of water. Open any taps in your house, both hot and cold, to help drain the system. This reduces the pressure in the pipes and can lessen the flow from the burst.
What you should not do is try to repair the pipe yourself, especially if it’s a mains pipe or involves complex plumbing. Temporary fixes with tape or epoxy rarely hold under pressure and can often make the problem worse. A small drip can quickly become a bigger leak, and continuous damp leads to mould and structural issues down the line. If you want to learn more about our mission, check out About KentHub Team.
Understanding the Risks: Why Speed Matters in Kent
When a pipe bursts, every minute counts, and understanding the potential consequences highlights why prompt action matters so much. It’s not just about the immediate puddle; the long-term damage can be extensive and costly, especially with the varied housing stock we see across Kent.
The most obvious risk is water damage itself. This can range from ruined carpets and flooring to damaged furniture and personal belongings. More seriously, prolonged water exposure can cause structural damage to your property, weakening plasterboard, timber joists, and even ceiling structures. Electrical hazards are also a major concern, as water can short-circuit wiring, leading to power outages, damage to appliances, or even fire risks.
Beyond the immediate destruction, there’s the insidious threat of mould and damp. If areas aren’t thoroughly dried out after a burst, mould can start to grow within 24-48 hours. This isn’t just unsightly; it can pose long-term health risks, particularly for those with respiratory conditions. According to the NHS, mould can cause respiratory problems, allergies, and asthma, making thorough drying essential for your health and home.
Kent’s diverse housing stock presents its own unique vulnerabilities. Older Victorian and Edwardian properties, common in town centres like Maidstone, Folkestone, and Canterbury, often have original lead or old copper pipework. These older pipes are more susceptible to corrosion, fatigue, and becoming brittle over time, making them prime candidates for bursting, especially during cold snaps. Post-war homes, often found in estates around Medway or Ashford, might have less insulated lofts or garages where pipes are exposed to freezing temperatures. And our beautiful coastal properties, from Whitstable to Dover, can face specific environmental factors, like salt air, that might affect external pipe longevity, though freezing remains the primary culprit for bursts.
How Freezing Pipes Actually Work
When water freezes, it expands. That increase in volume raises the pressure inside the pipe until the material can no longer cope and splits. The real flooding often happens when the ice then thaws and the broken section is free to release water.
Freezing risks are a common concern during Kent winters. Pipes in uninsulated lofts, garages, or external walls can freeze, expand, and then burst as the ice thaws. Speed matters, not just to stop the water, but to prevent deeper and more expensive damage. For more tips on home maintenance, check out our Blog.
What a Kent Plumber Will Do When They Arrive
When you’re facing a burst pipe, calling a qualified plumber is the next vital step after you’ve stemmed the immediate flow. You’ve done your part to limit the damage; now a professional needs to step in. A skilled Kent plumber will have a clear process to diagnose, repair, and test the system, getting your home back to normal as quickly and safely as possible.
First, the plumber will focus on diagnosis. They’ll carefully inspect the affected area, using their expertise to pinpoint the exact location of the burst and, just as importantly, the cause. Is it a frozen pipe that thawed? Is it corrosion on old pipework? Has a joint failed? Identifying the root cause is essential to ensure the repair is lasting. They might use thermal imaging cameras or acoustic leak detection equipment for hidden leaks, especially in walls or under floors, which is common in period properties where pipes are often concealed.
Leak Detection Methods Explained
Modern plumbers have some clever tools at their disposal for finding those elusive leaks. Thermal imaging cameras detect temperature differences, showing where cold water might be seeping into warmer areas behind walls or under floors. This is brilliant for non-invasive detection. Acoustic leak detection equipment uses highly sensitive microphones to listen for the sound of escaping water, even a tiny drip, allowing plumbers to pinpoint the leak’s location by sound. For more stubborn cases, tracer gas detection can be used, where a harmless gas is introduced into the pipe, and a detector then finds where the gas escapes. These methods mean less guesswork and less unnecessary damage to your home.
Next, they’ll ensure the area is safe. This means double-checking that the water supply is fully isolated and that there are no remaining electrical or gas hazards. If the main stopcock wasn’t fully effective, they might be able to isolate the damaged section locally, allowing water to be restored to other parts of your home while they work.
Then comes the repair or replacement of the pipe. This will depend heavily on the material, location, and severity of the burst. For smaller sections of copper pipe, they might cut out the damaged part and solder in a new section or use compression fittings. For plastic pipes (like those often found in newer builds or extensions), they can use push-fit connectors, which are quick and reliable. If you have older lead pipes, particularly common in Victorian homes around Canterbury or Folkestone, a plumber will advise on professional replacement of the lead section, as lead pipes are a health concern and should be phased out. They’ll use their tools and expertise to make a strong, durable repair.
Once the repair is made, the plumber will test the repair thoroughly. This involves slowly turning the main water supply back on and carefully checking for any signs of leaks under pressure. They’ll also check the water pressure in your system to ensure everything is flowing correctly. Finally, they’ll carefully restore your water supply to the whole house.
It’s important to remember that while a plumber will fix the pipe itself, extensive redecoration or making good of damaged plasterboard might be a separate job, often requiring a builder or decorator. However, some plumbers will do basic patching if it’s a straightforward job. If the burst pipe is in any way connected to your gas supply or a gas appliance, such as your boiler, it’s absolutely critical that only a Gas Safe registered engineer handles any work on the gas side. Once they’ve assessed the situation, you’ll have a clear idea of the repair needed. If you’re ready to get quotes, Find a Kent Plumber and we’ll help you connect with a vetted local professional.
DIY Damage Limitation vs. Professional Repair: Know Your Limits
When a pipe bursts, it’s natural to want to jump in and fix it yourself to save time and money. But there’s a clear line between safely limiting damage and attempting a repair that should only be handled by a qualified professional. Understanding these limits is essential for your safety and to prevent making a bad situation significantly worse.
Let’s be clear about what homeowners CAN safely do when a pipe bursts. These are immediate, common-sense actions designed to stop the flow and contain the existing water:
- Shutting off the main water valve: As we covered, this is the most important step. It’s a non-plumbing task that anyone can and should do.
- Turning off electricity to the affected area (or your whole home): If water is near electrics, this is a critical safety measure.
- Placing buckets and towels: Collecting water to prevent it spreading further is a simple, effective way to mitigate damage.
- Documenting damage with photos/videos: This matters for insurance claims later on. Take pictures from different angles, showing the extent of the water and any damaged items.
- Opening windows for ventilation: Once the water is contained, improving airflow helps with initial drying and reduces humidity.
Now, let’s talk about what absolutely requires a professional plumber – and why. This isn’t about skill; it’s about safety, legal compliance, and the long-term integrity of your home’s plumbing system:
- Any actual pipe repair or replacement: This involves working with pipe materials, ensuring watertight seals, and understanding pressure dynamics. It’s complex and requires specialist tools and knowledge.
- Working with mains water pressure: Repairs on the main incoming water pipe are high-pressure jobs that need expert handling.
- Diagnosing complex leaks or hidden pipework issues: If the source isn’t obvious, a plumber has the diagnostic equipment and experience to find it without tearing your house apart.
- Any work involving gas pipes or appliances: This is non-negotiable. By law, any work on gas systems must be carried out by a Gas Safe registered engineer. Never let an unregistered person touch your gas supply. You can verify any engineer’s registration at gassaferegister.co.uk.
- Assessing and advising on structural damage: While a plumber fixes the leak, they can often offer an initial opinion on potential structural issues, but a builder or surveyor would be needed for a full assessment.
Why is DIY repair so risky? A temporary fix may appear to hold and then fail under pressure, creating even more damage than the original leak. Beyond making the problem worse, attempting DIY plumbing can also void your home insurance policy if the insurer believes you worsened the damage through unsafe or improper repairs. More importantly, there are significant safety hazards, especially when water mixes with electricity or gas.
Dealing with the Aftermath: Drying Out and Insurance
Once your Kent plumber has fixed the burst pipe and the immediate crisis is over, you’re left with the aftermath: water damage. This stage is where you head off long-term problems like mould and ensuring your home insurance claim goes smoothly.
First up, drying out your home thoroughly is absolutely essential. Don’t underestimate this step. Even if the visible water is gone, moisture can linger in plaster, timber, carpets, and insulation.
- Remove standing water: Use your wet vac again, or mop and sponge up every last drop.
- Ventilation is key: Open all windows and doors (if safe to do so) to create airflow. This helps moist air escape and dry air circulate.
- Bring in the dehumidifiers and fans: These are very effective for drying out. Dehumidifiers pull moisture from the air, while fans help circulate air over damp surfaces. You might need to hire industrial-strength ones if the damage is extensive.
- Check hidden areas: Don’t forget under floorboards, behind skirting boards, and within wall cavities. These are prime spots for hidden damp and mould growth.
- When to call specialists: For severe damp, especially if it’s been soaking for a while, you might need to bring in a professional drying and restoration company. They have specialist equipment to measure moisture levels and ensure a complete dry-out, which is vital to prevent future issues.
Next, you need to tackle the dreaded insurance claim. This can feel daunting, but being organised will make it much smoother.
- Contact your insurer immediately: The sooner you inform them, the better. Many policies have specific time limits for reporting incidents.
- Document everything: This is where those photos and videos you took earlier come in handy. Take more as the drying process continues. Keep your plumber’s invoice and any receipts for temporary measures you’ve taken (e.g., dehumidifier hire, new towels).
- Understand your policy: Most home insurance policies will cover sudden and accidental damage from a burst pipe. However, they often won’t cover damage caused by gradual leaks or general wear and tear that you should have addressed. It’s worth checking your specific policy details. For general guidance, the Financial Conduct Authority (FCA) advises consumers to understand their policy terms and report claims promptly to avoid issues.
- Don’t throw anything away: Keep damaged items until your insurance assessor has had a chance to see them. They might want to inspect the damage directly.
- The plumber’s report: Ask your plumber for a detailed report on the cause of the burst, the repair made, and any observations about the extent of the water damage. This can be invaluable for your insurance claim.
Taking methodical steps now will save you a lot of grief later. If you’re ready to get quotes for any further repairs or drying specialists, Find a Kent Plumber and we’ll help you connect with local professionals who can assist. If you need to get in touch with us, you can always Contact Us.
Preventing Future Burst Pipes in Your Kent Home
Dealing with a burst pipe is stressful enough that you’ll want to do everything you can to avoid a repeat performance. The good news is there are several proactive steps you can take to protect your Kent home, especially as winter approaches.
One of the most effective preventative measures is lagging pipes. Insulating pipes in unheated areas like lofts, garages, cellars, and even along external walls or in exposed cupboards, is well worth the effort. This lagging (pipe insulation) protects them from freezing temperatures. It’s a relatively inexpensive DIY job that can save you a fortune. Water UK consistently highlights pipe insulation as one of the most effective ways to prevent burst pipes during cold weather, saving homeowners significant costs and disruption.
Regularly checking for leaks is also vital. A minor drip that you can easily fix (or have a plumber fix) now can prevent a major burst later. Pay attention to any damp patches on walls or ceilings, unusual drops in water pressure, or higher-than-normal water bills – these can all be indicators of a hidden leak.
Ensure your boiler and heating system are well-maintained. Regular servicing not only keeps your heating efficient but also allows an engineer to spot any potential issues with pipework or pressure that could lead to problems. We’ve got a great guide on preventing frozen pipes that goes into more detail on specific winter precautions.
It’s also worth understanding your water pressure. If your home has unusually high water pressure, it can put extra stress on your pipes and fittings, making them more susceptible to bursting over time. A plumber can install a pressure reducing valve if this is a concern.
What is a Pressure Reducing Valve (PRV)?
A Pressure Reducing Valve, or PRV, is a clever little device that helps maintain a safe, consistent water pressure throughout your home. If the incoming mains water pressure is too high, it can put undue strain on your entire plumbing system – from your boiler to your taps – leading to leaks, bursts, and premature wear. A plumber can install a PRV on your main incoming water line, which essentially “throttles” the pressure down to a safe, preset level. This protects your pipes and appliances, potentially extending their lifespan and preventing those stress-related bursts.
Finally, remember to drain down external taps in winter. Hoses left connected can freeze and cause the tap and its internal pipework to burst. A simple turn of a stopcock (usually found inside your house near the external tap) and draining the tap outside can prevent this common problem. Thinking about the material of your pipes during any renovation is also a good idea – modern plastic or copper pipes are generally more robust than very old lead or iron.